

Garden Overview
Latitude: 42°
Elevation: 580 m
Average Annual Rainfall: 588.5 mm
Co-ordinates:42°42′N 25°23′E
The area below highlighted in red is the area being designed and is around 30m2 and situated to the east of the house with a southerly aspect. The dark shadow is actually the old irrigation pond before it was dug in.

To limit overwhelm when starting to think about a garden design, we've found it helps to define the main function that the area will serve, and in this case, it is to be productive and supply the kitchen as it is situated right by the kitchen window that is large and often doubles up as a door. The secondary purpose for this area is to enhance biodiversity, so we have been looking at how we can incorporate the following different habitats into the space.
● Grassland/Wildflowers
● Woodland and forest
● Hedgerows and Scrub
● Rocky terrain
● Wetland
● Aquatic
Water bodies such streams, rivers or ponds are probably the single most beneficial habitats you can have on a site to attract and sustain biodiversity and the majority of the wildlife that will be attracted to the pond will be of great benefit to your garden or farm, i.e, pollinators and pest predators.
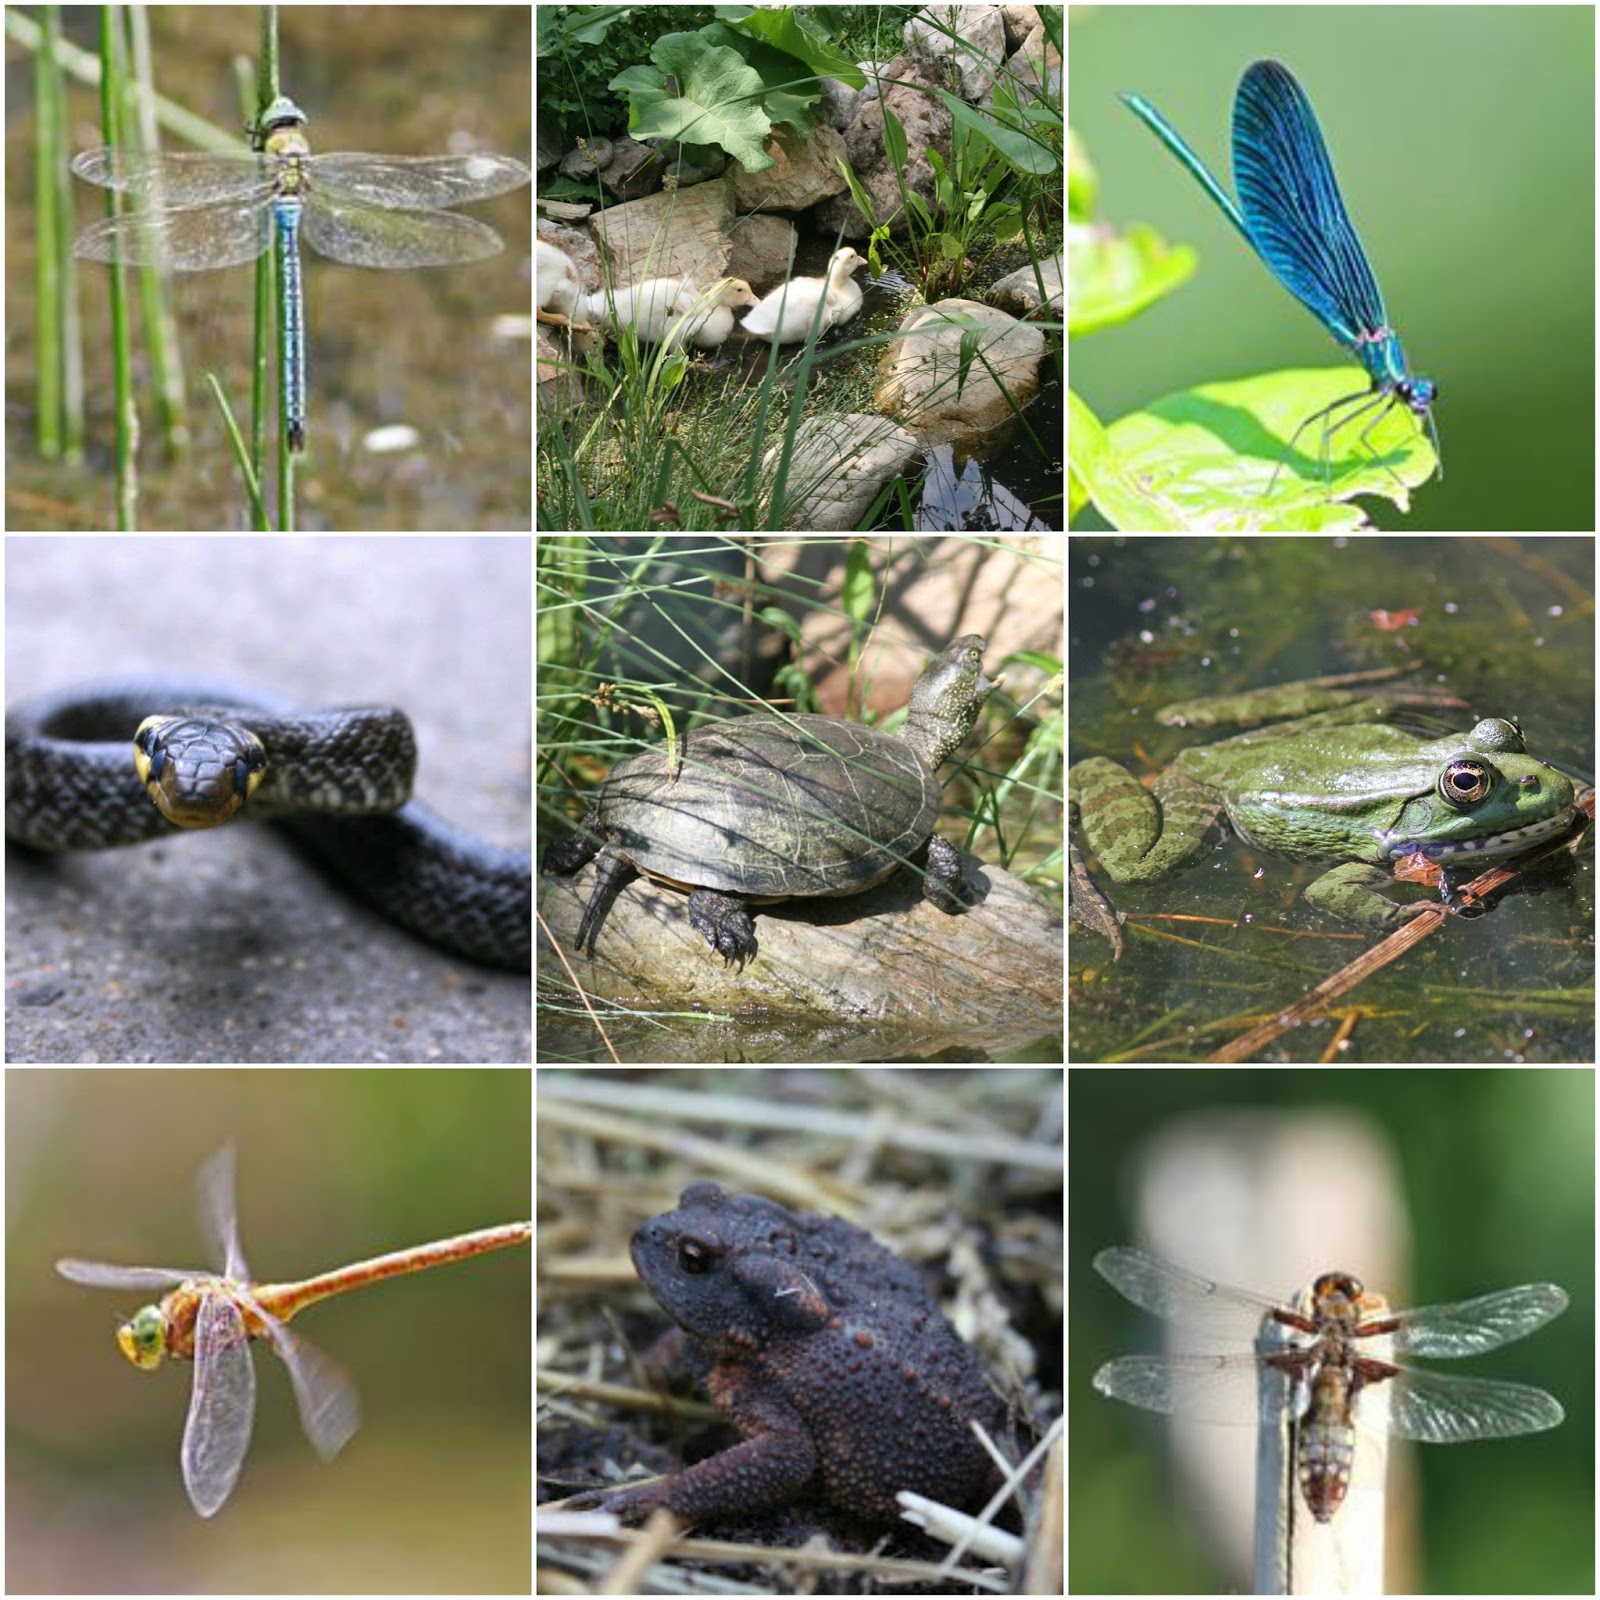 |
| Some of the pond life in our gardens |
Based on the topography of the site we selected the optimal location for the pond considering the inlet (where the pond receives water) and outlet (the exit point for overflow from the pond). In this instance we decided to place the pond at the top of the garden underneath the rainwater harvesting guttering to the north of the pond (inlet) and the overflow (outlet) was constructed on the southern side of the pond to take advantage of the slope and soak into the productive beds, the location of which we had pegged out the week before.
It was helpful to use a garden hose and look at how the water flowed across the land from the different possible places at which we could have made the overflow in order to make sure the water will be flow and be captured exactly where we want and need it to. On average, soil absorbs only about 8mm depth of water per hour. When water is applied to the soil faster than it is absorbed it will either run-off or puddle on the surface. Both can lead to erosion of the soil. To reduce water run-off we can use light earthworks such as tree pits, sunken beds or swales that keep the water around the root zones of the plants while infiltrating slowly into the soil.
So here's our step by step guide on how to build a small pond on a slope.

Step 1 - Peg out the proposed area of the pond and make sure you have enough liner. As we were working with an oddly shaped cut-off from the old pond liner, we had a limit to the size and depth that our pond could be. ESC volunteer Markus had designed the shape of our pond to fit well into the landscape - a concept known as landscape congruity. The idea is that your design or elements of it take advantage of site climatic and geographic properties in order to decrease energy and resource expenditure. This often results in a positive impact on the aesthetic qualities of the landscape too, in this case the pond seems to fit naturally and nicely like a jigsaw puzzle piece into the landscape.

Step 2 - Start digging. It can be useful to separate the subsoil from the top soil as you may want to use the seed containing top soil to place around the pond after construction. Use rocks and the sub soil you are digging out to create a level bank on the low ground side.

Step 3 - Continue to dig and build up the bank on the low ground. Use a spirit level to check the bank is level with the upper ground.

Step 4. Make shelves to support and encourage different types of plant and animal life. Providing various depths within the pond caters for a range of aquatic plants and ideally you'll need a gentle slope for animals to enter and exit.

Step 5 - Dig to your chosen depth and consider the winter temperatures in your area, and if you are placing fish in your pond, the minimum recommended depth for fish to survive. We had been offered some goldfish by a friend in a neighbouring village who is experienced keeping them. He said a minimum of 0.6m depth is satisfactory for the fish to survive. Different species of fish have different requirements so it's essential to research this.

Step 6. Once you are happy with the form of the pond, check that the pond is level from the high ground of the land to the newly created bank on the low ground, and also on the the non sloping sides by using a spirit level.

Step 7 - Once we were happy with the shape we smoothed it out and removed any sharp stones. This helps to prevent the liner from being punctured. As further protection, we added a layer of straw before placing the liner in position.

Step 8 (3 mini steps in 1:))- Add the liner, create the overflow and fill. Place the liner making sure the top remains well above the pond, as when it fills it will come down a little with the weight of the water. Start to fill. We mainly used tap water topped up with a couple of buckets of rainwater. If you use tap water it's important to leave the pond to sit for 24hrs before adding any aquatic life, in order for the chlorine to evaporate. Using some more cut-offs from the recycled pond liner, we created our overflow with small stones on our selected location on the banked edge of our pond.

Step 9 - Once the pond is full the liner won't shift position and you can add large rocks on top to create an edge. Use round stones without any sharp edges to avoid a ripped liner in the case of a falling rock.
Welcome to our Online Store where you can find Forest Garden/ Permaculture plants, seeds, bulbs and Polyculture multi-packs along with digital goods and services such as Online Courses, Webinars, eBooks, and Online Consultancy. We hope you enjoy the store and find something you like :) It's your purchases that keep our Project going. Yuu can also find our full list of trees. shrubs and herbs for forest gardens on our website here


Step 10 - Adding features such as tree stumps or hollow rocks to the pond will provide hiding places for fish and other pond life and basking territory for amphibians.

You can see our previous blog post for more information on building small ponds for wildlife or irrigation. Thanks to Rushar for some of the photos used in this blog and you can check out the ESC volunteer's personal blog here. Special thanks to Darren Currah who helped us hugely with the pond, and to Steve and Vanya for the fish :)

Regenerative Landscape Design - Online Interactive Course
Want to learn how to design, build and manage regenerative landscapes? Join us for our Regenerative Landscape Design - Online Interactive Course from May 1st to Sep 13th, 2023.
We're super excited about running the course and look forward to providing you with the confidence, inspiration, and opportunity to design, build and manage regenerative landscapes, gardens, and farms that produce food and other resources for humans while enhancing biodiversity.

Regenerative Landscape Design Online Course
You can find out all about the course here and right now we have a 20% discount on the full enrollment fees. Just use the promo code RLD2023 in the section of the registration form to receive your discount.
We are looking forward to providing you with this unique online learning experience - as far as we know, the very first of its kind. If you are thinking of reasons why you should do this course and whether this course is suitable for you, take a look here where we lay it all out. Looking forward to it!
We're super excited about running the course and look forward to providing you with the confidence, inspiration, and opportunity to design, build and manage regenerative landscapes, gardens, and farms that produce food and other resources for humans while enhancing biodiversity.
|
| Regenerative Landscape Design Online Course |
You can find out all about the course here and right now we have a 20% discount on the full enrollment fees. Just use the promo code RLD2023 in the section of the registration form to receive your discount.
We are looking forward to providing you with this unique online learning experience - as far as we know, the very first of its kind. If you are thinking of reasons why you should do this course and whether this course is suitable for you, take a look here where we lay it all out. Looking forward to it!
--------------------------------------------------------------------------------------------------------------------------
Support Our Project

If you appreciate the work we are doing you can show your support in several ways.
- Make a purchase of plants or seeds from our Bionursery or Online Store
- Consider joining us for one of our Courses or Online Courses
- Comment, like, and share our content on social media.
- Donate directly via PayPal to balkanecologyproject@gmail.com or via FTX Pay
Just to point out- you mention adding fish to a wildlife pond. It wouldnt be a wildlife pond any more if that was done.
ReplyDeleteHDPE POND LINER are more affordable compared to EPDM liners, but they are also less durable. While they are relatively easy to install, PVC liners may not last as long as EPDM and can become brittle over time, especially when exposed to UV light. These liners are ideal for smaller ponds or temporary water features.
ReplyDelete